


Related news
Complete Optimization Guide for Masson Trichrome Staining Protocols and Common Histology Lab Pitfalls
Table of Contents
Every day we receive questions from pathology labs worldwide regarding Masson trichrome staining issues. It is one of the most reliable methods to visualize tissue structure, but the multi-step protocol means small variations can throw off your results. If your slides are ending up completely red, overly blue, or showing weak contrast, you are not alone. Our team works with histological reagents daily, so we gathered the most frequent issues our customers face and paired them with simple solutions to get your protocol back on track.
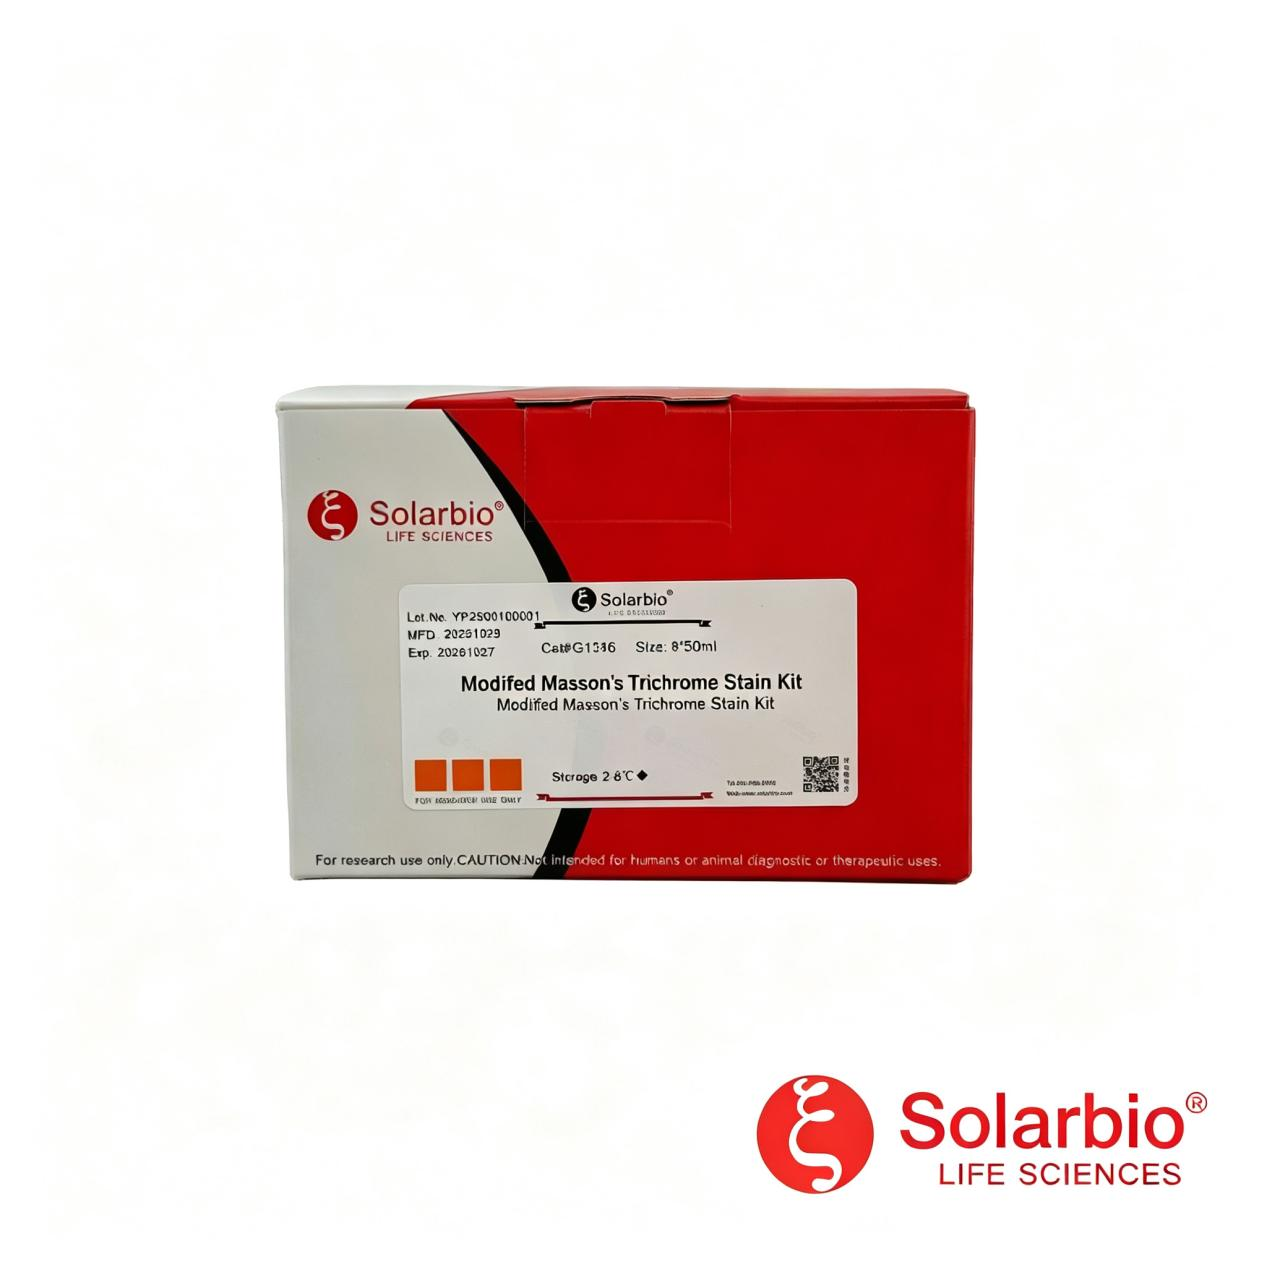
Overview of Masson Trichrome and Kit Component Functions
Basic Staining Purposes and Differentiated Tissue Elements
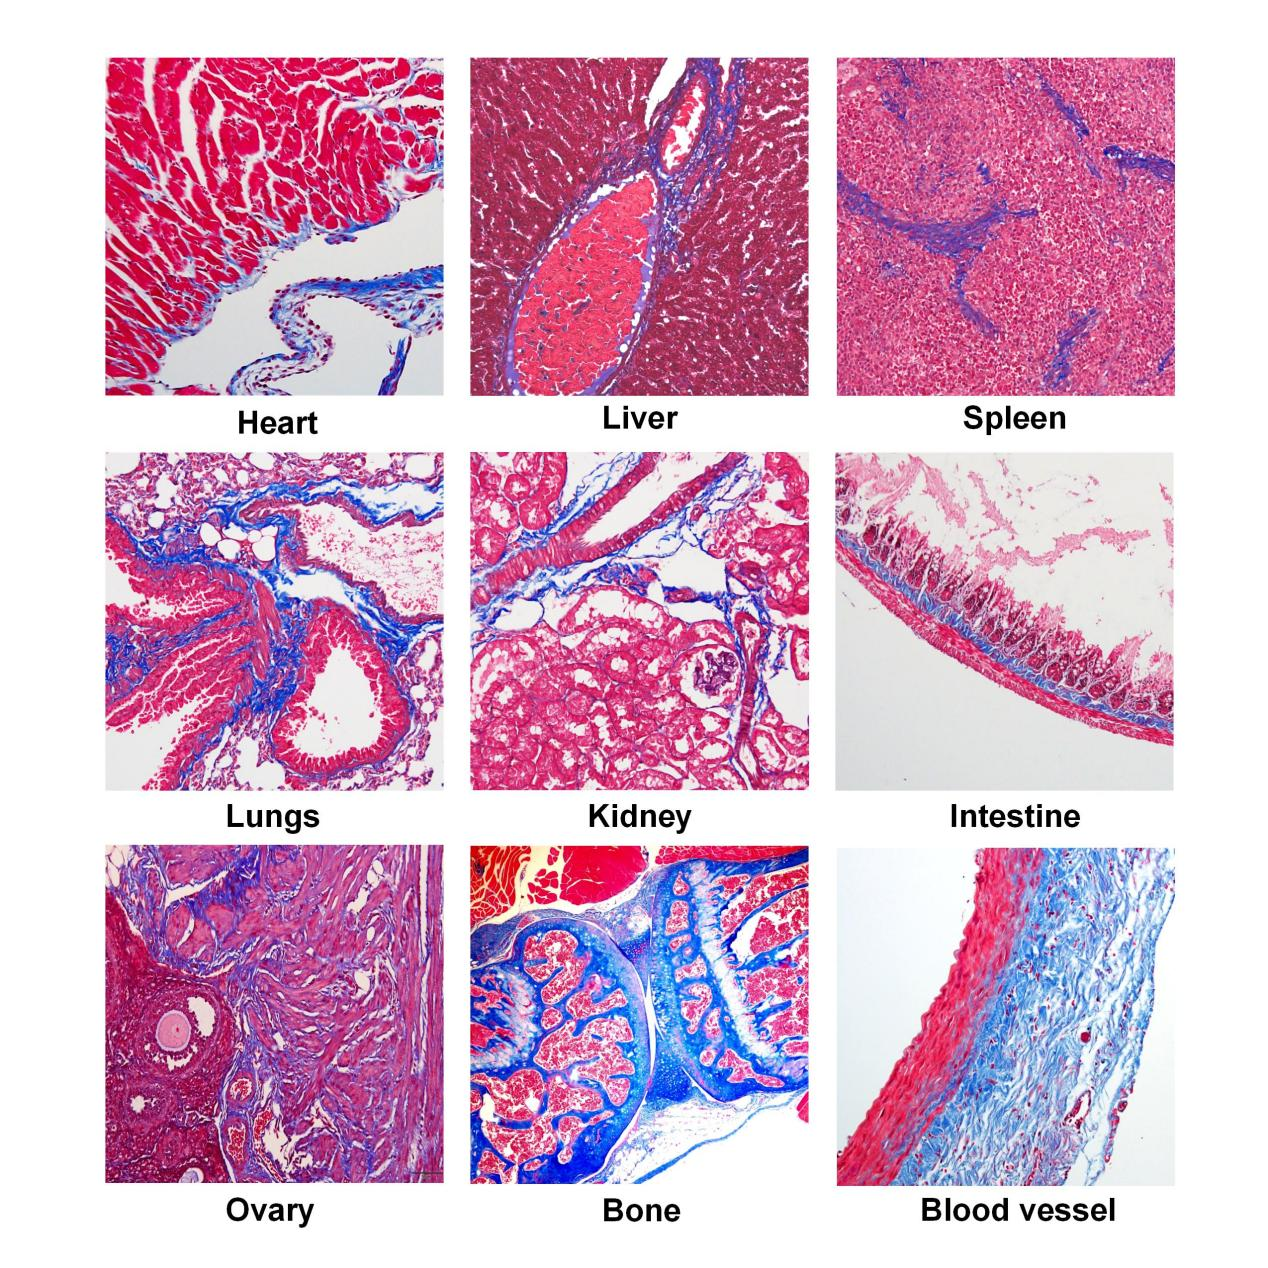
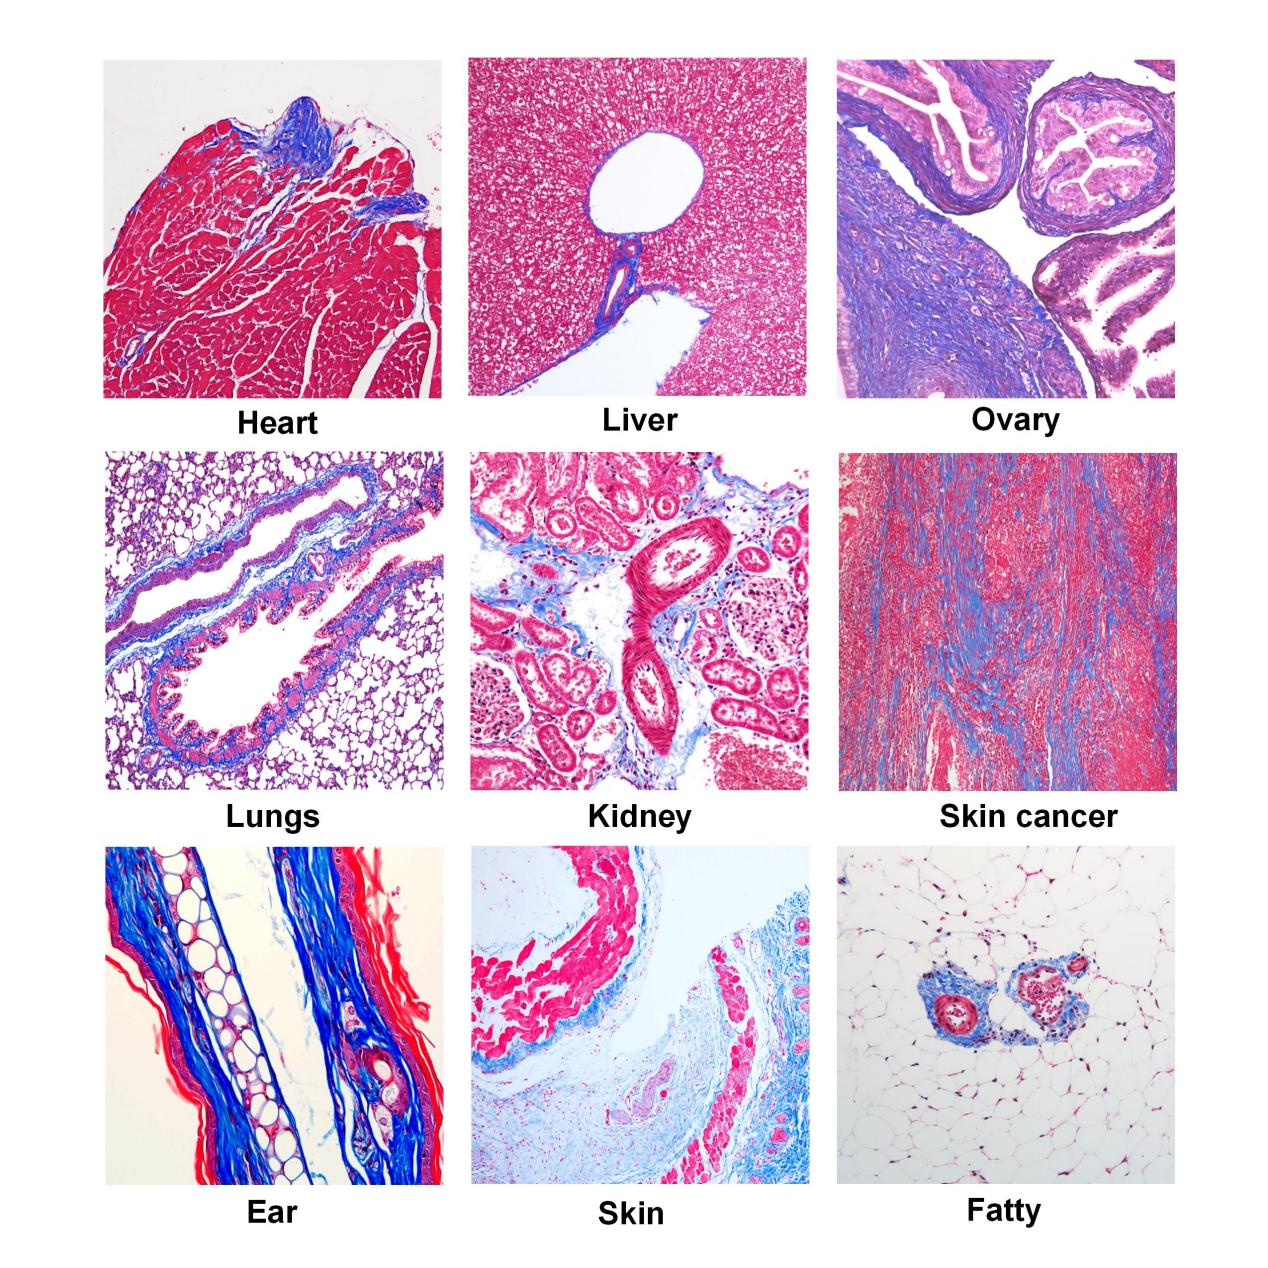
The main job of this method is separating different parts of a tissue section under a microscope. It gives you a clear visual contrast by coloring collagen fibers blue or green, turning muscle fibers, cytoplasm, and red blood cells red, and making cell nuclei look dark brown or black. Labs rely heavily on this contrast when evaluating tissue fibrosis in liver or kidney samples, studying muscle pathology, or looking at tumor stroma changes. You can track how these morphology shifts correlate with underlying molecular systems by visiting our interactive signaling pathway guides to optimize your wider research goals.
Primary Reagents and Fixatives in the Standard Kit
Every component in a standard kit has a specific job to build the final contrast. Bouin’s solution fixes the tissue structure and acts as a mordant to improve dye penetration and contrast. Weigert’s iron hematoxylin binds firmly to nuclear DNA and resists subsequent acid wash steps. Acid fuchsin targets dense structures like muscle fibers to color them red, while phosphomolybdic acid differentiates the red stain out of looser structures to prepare the collagen for aniline blue. Finally, a weak acid solution acts as a fixative to lock in both the red and blue colors during washing. Laboratories following this conventional workflow can select the G1340 Masson’s Trichrome Stain Kit as the standard kit option.
Upgraded Staining Options and Celestine Blue Advantages
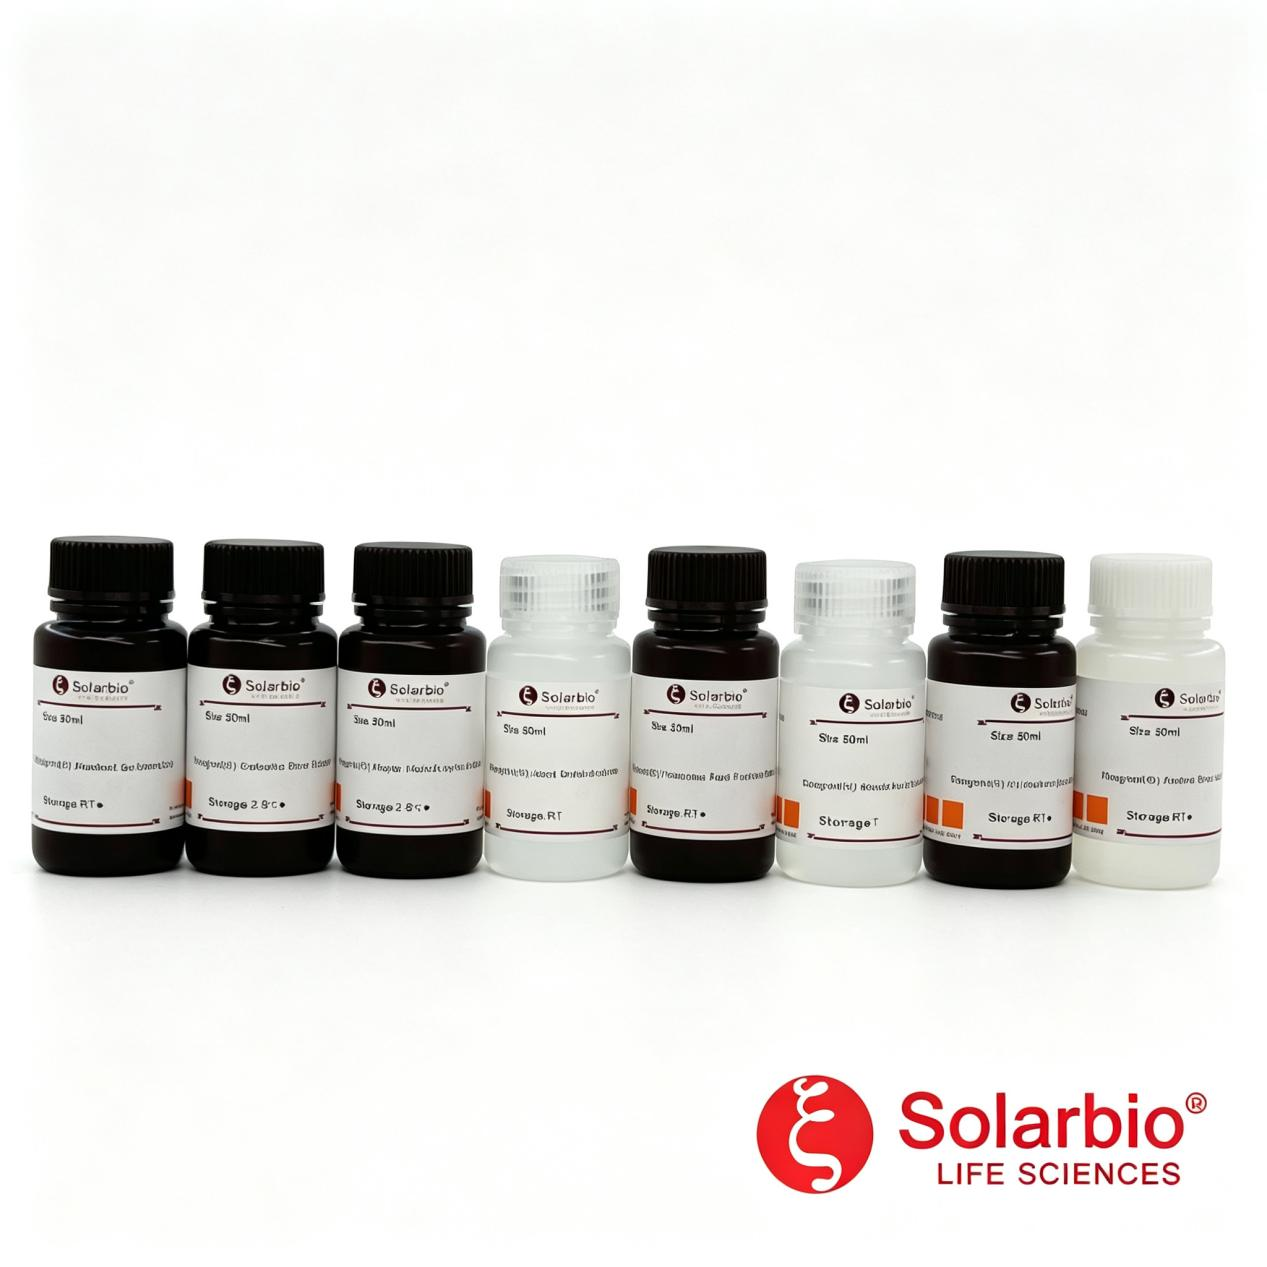
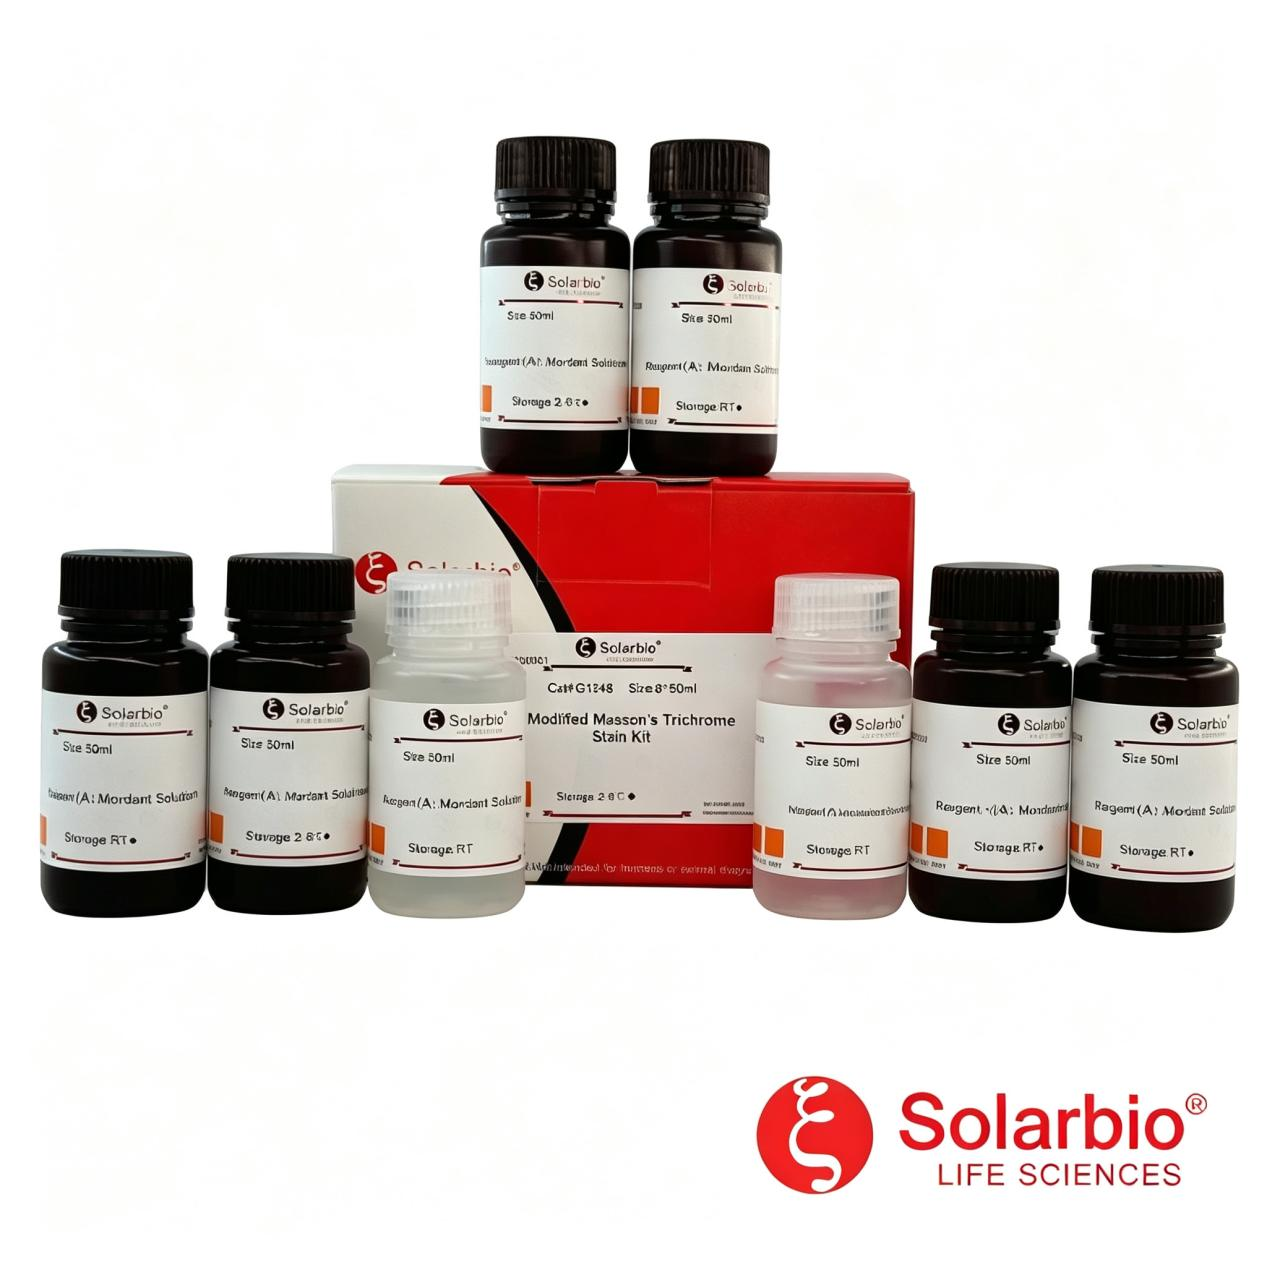
When choosing a protocol, you will often see standard kits and modified versions. Compared with the standard G1340 workflow, the G1346 Modified Masson’s Trichrome Stain Kit uses celestine blue in place of iron hematoxylin, eliminating the need to prepare the nuclear stain immediately before use. The modified version also utilizes an eco-friendly, non-toxic mordant for the pretreatment phase, which gives sharper colors, clearer fibers, and prevents over-staining. This modified format is especially useful for laboratories seeking a simpler preparation process and more consistent red-blue contrast across routine staining batches.
Resolving Red and Purple Staining Disbalances
Impact of Short Aniline Blue Staining Durations
Color balance issues usually come down to the differentiation and staining times of your acid dyes. When your finished slides look mostly purple-red and the blue collagen fibers seem faded, you usually have two potential culprits. First, the aniline blue step might have been too short, which lets the red dye dominate the entire section. To fix this color imbalance, you should try to increase the aniline blue incubation time in increments of thirty seconds until the blue hue becomes distinct.
Addressing Insufficient Phosphomolybdic Acid Differentiation
The second reason behind a purple-red slide is insufficient differentiation by phosphomolybdic acid. If this acid does not stay on the slide long enough, residual acid fuchsin remains trapped inside the collagen fibers, effectively blocking the aniline blue from binding properly. Extending your phosphomolybdic acid differentiation time to two or three minutes will clear out the excess red dye and prepare the tissue structure for the blue stain.
Quick Rinse Techniques and Rinsing Adjustments
There are minor handling adjustments that can alter how the dyes behave on the tissue section. If expanding the aniline blue step alone does not yield a bright blue, you can introduce a brief wash step. Try performing a quick rinse with distilled water for three to five seconds right after the phosphomolybdic acid differentiation step completes, then move straight into the aniline blue solution. This simple change helps clear lingering reagents and improves the final red-blue contrast.
Fixing Overly Blue Tones and Faded Areas
Managing Long Incubation Times of Aniline Blue
If your slides turn out entirely blue-purple and the red muscle fibers look dull or completely covered, you face the opposite issue. The aniline blue staining may have gone on too long, causing it to over-stain and mask the red areas. You can correct this by increasing the acid fuchsin staining time while cutting back on the aniline blue step. We recommend starting with a base time of two minutes for the blue dye and tweaking it from there based on your initial microscope view.
Handling Over Differentiation From Excess Acid Exposures
Over-differentiation with phosphomolybdic acid also strips the red dye from the muscle fibers so strongly that the subsequent blue stain simply takes over the entire section. Dropping the phosphomolybdic acid differentiation time down to a range of half a minute to one minute will preserve the red staining in the cytoplasm and muscle structures. Finding this precise timing window prevents the large aniline blue molecules from completely muddying your cytoplasm details.
Adjusting Initial Microscope Views and Incubation Bases
To get the exact look your lab requires, it helps to run a pilot slide to see how your specific tissue responds to the kit components. By monitoring the color balance under the microscope early on, you can make informed decisions about whether to shift the dye ratios. For teams dealing with highly specialized pathology samples that require unique handling times, you can learn about our customized assistance through our experimental support services to develop tailored staining protocols.
Staining Optimization for Frozen and Paraffin Slices
Modifying Staining Durations for Frozen Tissues
Paraffin and frozen samples handle dyes quite differently due to how the tissues are processed and how thick the sections are cut. Frozen tissue sections pick up dyes much faster than paraffin ones. Because different organs have unique staining speeds, you must tweak your incubation times carefully. If you work with tissues that over-stain easily, cut the duration of every single step in half to prevent the colors from becoming completely dark.
Dilution Methods for Aniline Blue in Frozen Samples
Due to the high porosity and fast dye absorption of frozen tissue blocks, special dilution steps are required during the later stages of the protocol. During the aniline blue phase, you should dilute the aniline blue solution three to five times using a weak acid solution to keep the color from overwhelming the slide. Skipping this dilution almost always results in an intense blue patch that completely obscures the cellular layout.
Preventing Tissue Detachment and Maintaining Section Safety
Frozen sections lack the embedded structural support that paraffin wax provides, which makes them highly vulnerable during liquid transfers. When performing your washes and transferring slides between dye stations, keep your movements gentle and slow to prevent the tissue from lifting off the glass or folding over. Also, remember that frozen sections are usually several times thicker than paraffin slices, so the final colors might look slightly less crisp under the microscope as a normal consequence of the thickness.
Workflow Fixes for Muddy Backgrounds and Fading
Removing Paraffin Wax Residues Through Baking
A dirty or hazy background usually means the paraffin wax did not dissolve completely before you started staining. Residual wax leaves a thin film across the glass that catches dyes randomly. You can fix this by leaving the slides in the oven longer to ensure total melting, or by completely replacing your xylene with fresh batches to clear the wax away. You can read up on the latest clearing techniques and find industry insights in our technical news updates section.
Filtering Crystalline Precipitates Out of Staining Reagents
Another common cause for a blurry or dirty slide background is precipitate buildup in old staining solutions. If you suspect particles are ruining your view, drop fifty microliters of the liquid onto a clean slide and check it under a microscope. If you see a lot of floating grains or tiny crystals, pass the solution through standard filter paper or a syringe filter before pouring it onto your tissue samples.
Direct Air Drying Methods to Skip Alcohol Steps
When slides begin fading or losing color depth just a few days after mounting, the issue almost always points back to moisture in your dehydration reagents. If your absolute ethanol or xylene tanks have been used too many times, they absorb ambient water which slowly dissolves the red and blue dyes from the tissue. To stop this, replace your clearing and dehydration liquids with fresh reagents. Alternatively, you can skip the alcohol dehydration entirely after the final weak acid wash, shake off the excess water, let the slides air dry completely on the bench, and mount them directly with neutral resin.
Conclusion
Mastering Masson trichrome staining comes down to managing the delicate balance between your red and blue dyes while keeping an eye on solution purity and dehydration quality. By adjusting your phosphomolybdic acid differentiation times and keeping your dehydration alcohols free of water, you can consistently avoid muddy backgrounds and weak colors. Standardizing your immersion methods will make your everyday pathology workflow highly reproducible. If you want to see our full quality certifications and corporate history, you can read our background details on our corporate story page. For specific advice on setting up these protocols or selecting large validation lots, you can explore our complete diagnostic testing solutions to improve your regular lab routines.
FAQ
Q1: What is the primary purpose of using Masson trichrome staining in a lab?
A1: The method is used to differentiate specific tissue components under a microscope. It colors collagen fibers blue or green, stains muscle fibers, cytoplasm, and red blood cells red, and turns cell nuclei dark brown or black. This distinct contrast makes it a valuable tool for analyzing tissue fibrosis, tumor developments, and muscle structural changes.
Q2: What roles do the key individual components in a standard Masson kit play?
A2: Every component has a specific job to build the final contrast. Bouin’s solution fixes the tissue structure and acts as a mordant to improve dye penetration. Weigert’s iron hematoxylin binds firmly to nuclear DNA and resists wash steps. Acid fuchsin targets dense structures like muscle fibers to color them red, while phosphomolybdic acid differentiates the red stain out of looser structures, preparing the collagen for aniline blue, which stains those collagen fibers blue. Finally, a weak acid solution acts as a fixative to lock in both the red and blue colors.
Q3: Why does my modified Masson kit perform differently than a traditional one?
A3: Modified versions are built to streamline lab labor and protect technicians. The inclusion of celestine blue means you do not have to spend time mixing iron hematoxylin right before starting your protocol. Additionally, switching out old-style mordants for eco-friendly alternatives provides brighter final colors and reduces the risk of over-staining your samples.
Q4: How do I correct a slide that looks entirely purple-red with pale blue areas?
A4: This problem happens when the aniline blue step is cut too short or if the phosphomolybdic acid did not differentiate the tissue long enough, leaving too much red dye behind. Try lengthening your aniline blue step by thirty-second intervals, or extend the phosphomolybdic acid differentiation step out to two or three minutes to ensure the red color clears from the collagen before you apply the blue dye.
Q5: What should I do if my muscle fibers look faded and the slide is mostly blue?
A5: This color shift means your aniline blue step ran too long and masked the red structures, or your phosphomolybdic acid step stripped away too much red dye. Decrease your aniline blue incubation time and try increasing the acid fuchsin staining time. Also, make sure to keep your phosphomolybdic acid differentiation brief, around thirty seconds to a full minute, so the muscle fibers hold onto their red staining.
Q6: What is the best way to handle sections if I cannot mount them immediately?
A6: You should store the wet sections in a container filled with a weak acid solution for up to a few hours. If you notice colors starting to lift off the tissue and cloud the liquid, take the slides out right away, run them through a quick graded ethanol dehydration series, and mount them. Slides sealed with neutral resin can be safely stored for at least six months under normal conditions.
Q7: How do I adjust the standard staining times when handling frozen tissue blocks?
A7: Frozen tissue sections take up dyes much faster than standard paraffin sections. You should generally cut all your reagent incubation times in half for fast-staining samples. When you reach the aniline blue phase, dilute the stock solution three to five times with a weak acid solution to avoid over-staining, and always handle the slides gently to keep the fragile sections from lifting off the glass.
Q8: Why are my slides losing their color and fading just a few days after mounting?
A8: Rapid fading is usually caused by water contamination in your absolute alcohol or xylene tanks, which gradually dissolves the dyes away. Always use fresh clearing and dehydration reagents. If fading persists, skip the alcohol dehydration entirely after your final weak acid wash, let the slides air dry completely on the bench, and mount them directly with neutral resin.
Q9: How do I handle background impurities or cloudy spots on the finished sections?
A9: A hazy background points to incomplete dewaxing or reagent precipitation. Try extending the baking time or replacing your clearing solvents with fresh ones to remove all wax trace. If the staining solution contains fine particles, filter the small volume through qualitative filter paper or a dedicated syringe filter before running your protocol to keep background debris from sticking to the sections.
 Consult
 Whatsapp
 Leave Message
 top
top